Want to grow your beauty brand, wow future employers, and never scramble for content again? Start with a Before & After photo folder. It’s simple, effective, and a total game-changer.
When everything’s organized, it saves you time and makes it way easier to stay consistent.
Here’s the full scoop + tips and tricks:
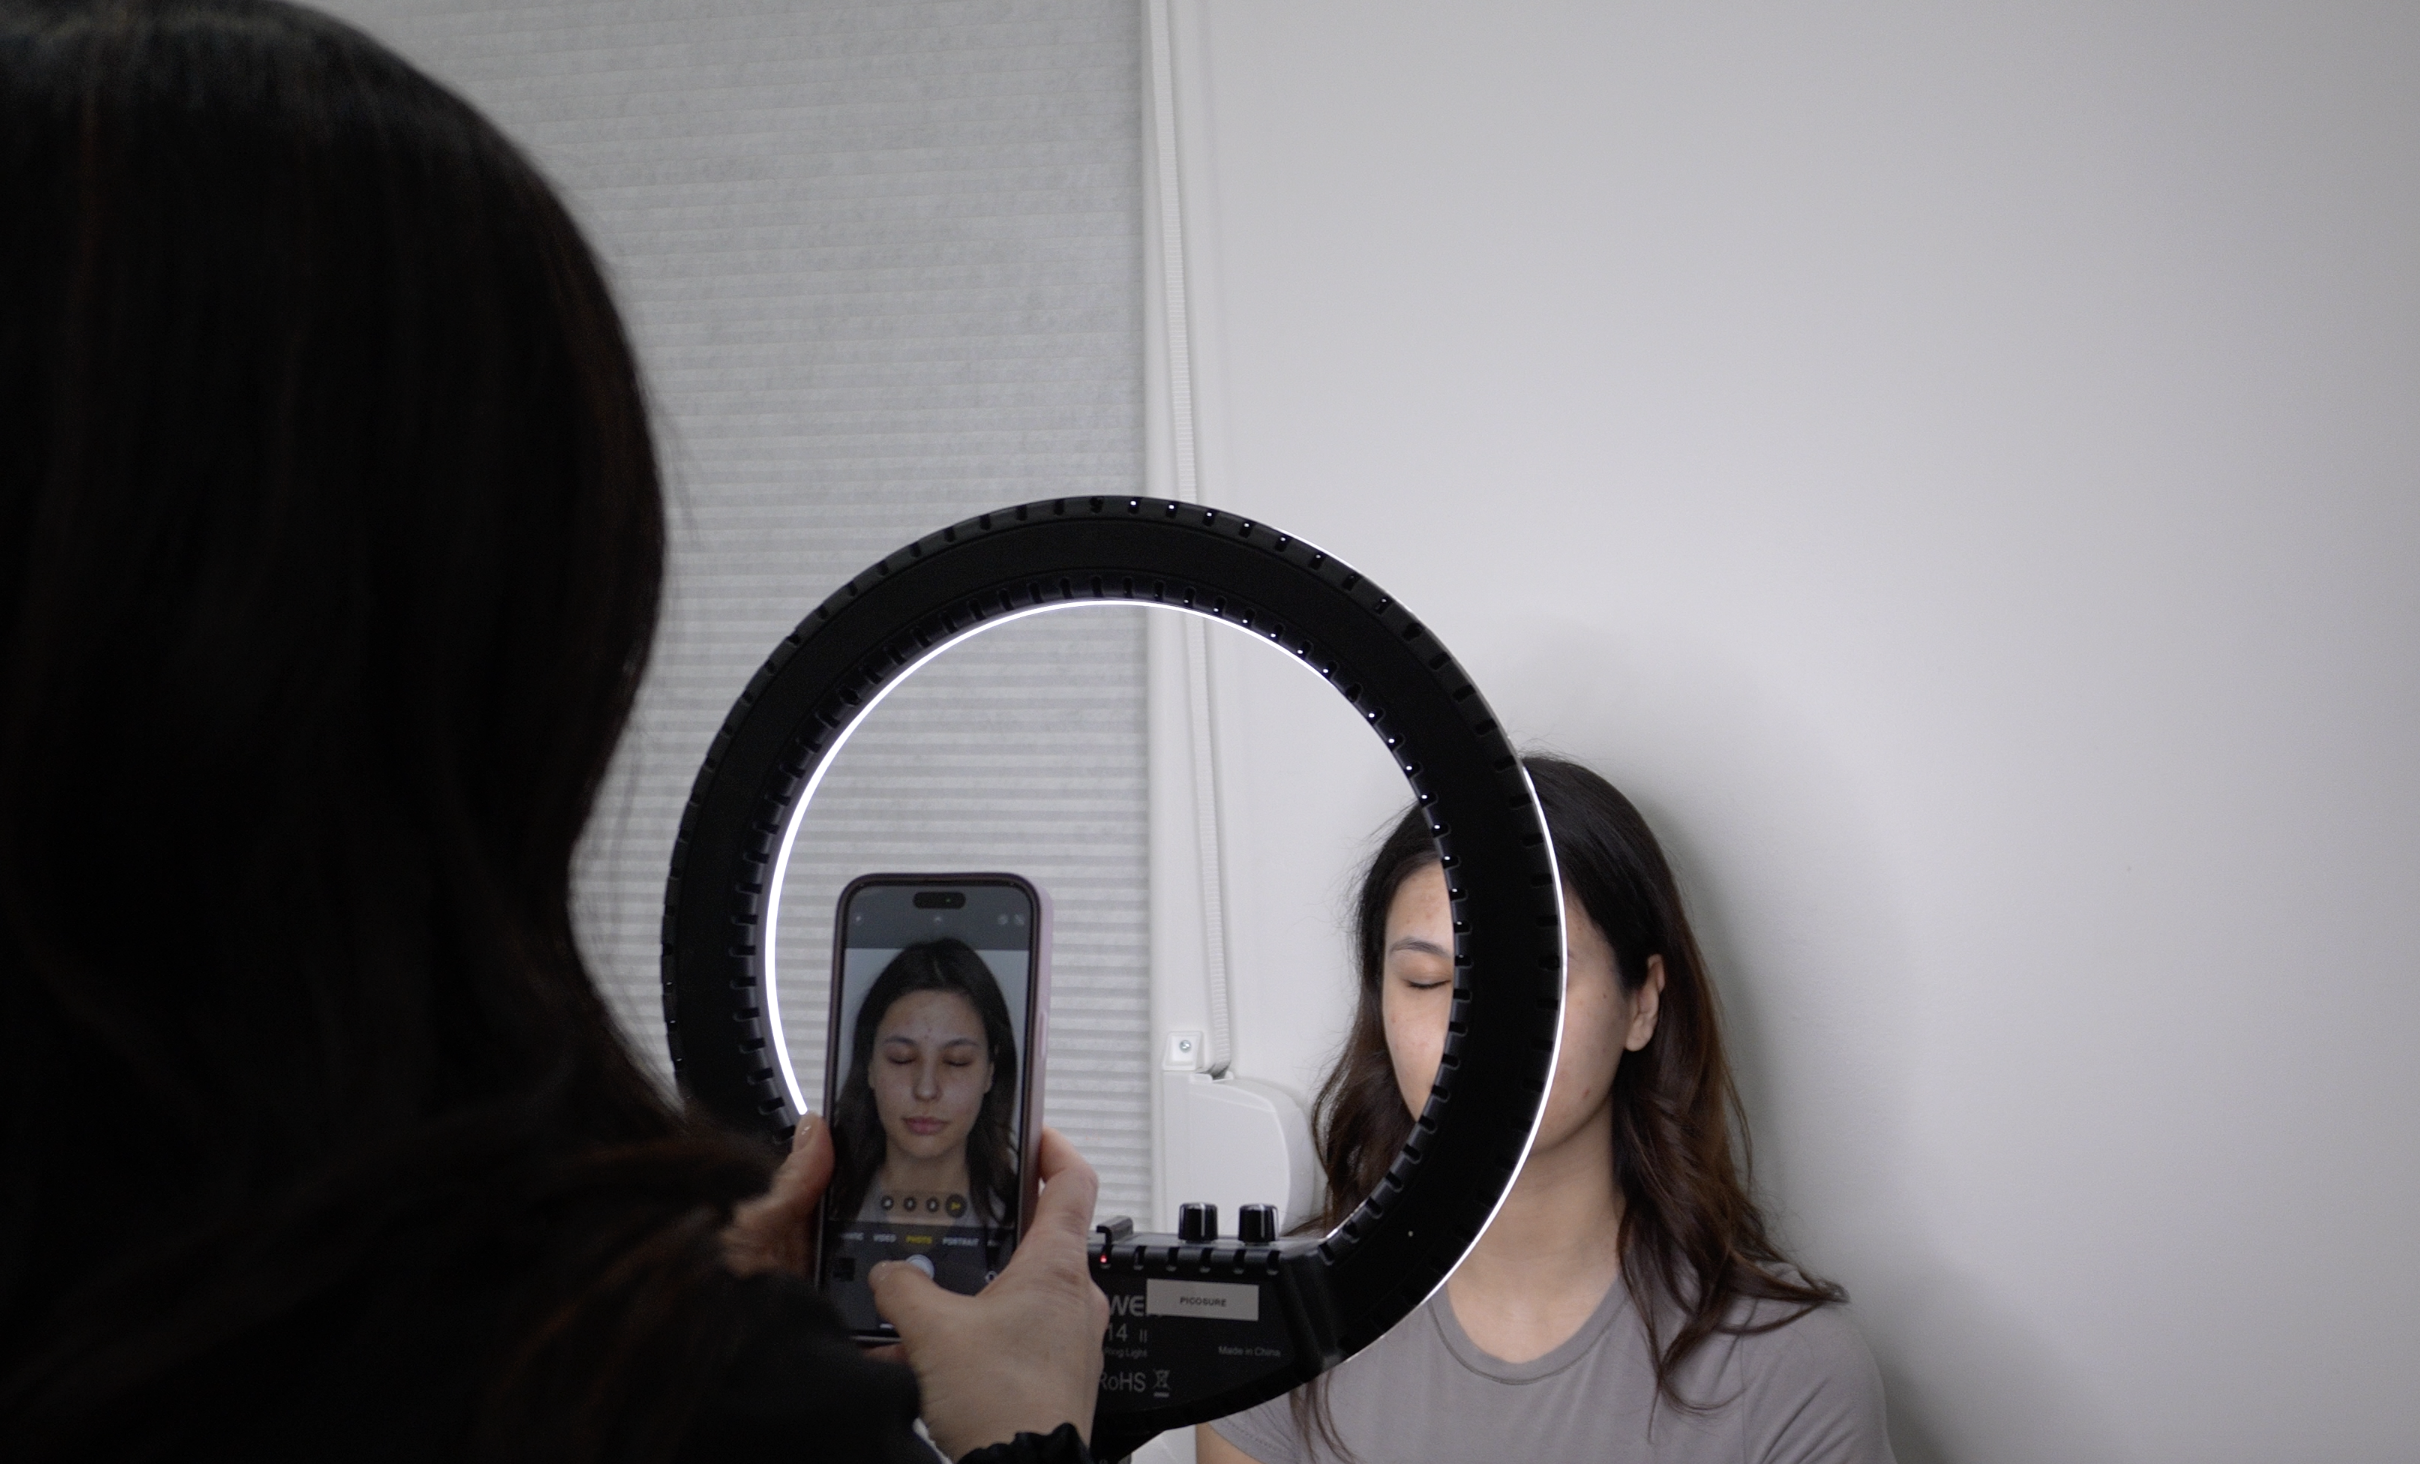
Why Before & After Photos Matter
Let’s be honest—whether it’s a hair transformation, a living room makeover, or a skin refresh, we’re all hooked on Before & Afters. You know you pause your scroll to look!
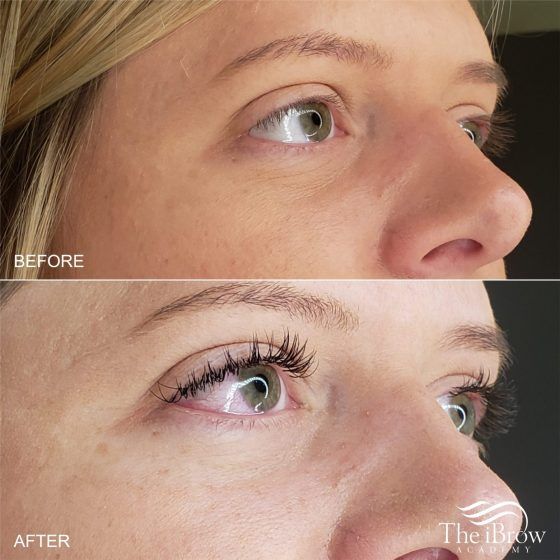
A well-lit Before & After photo shows off your work like nothing else can. It’s proof. It builds trust. It creates scroll-stopping content. And whether you’re working on nails, brows, lashes, or skin, people LOVE to see the transformation.
This kind of visual content boosts your portfolio and makes your social media shine. Plus, spas and clients are way more likely to be interested when they can see what you can actually do.
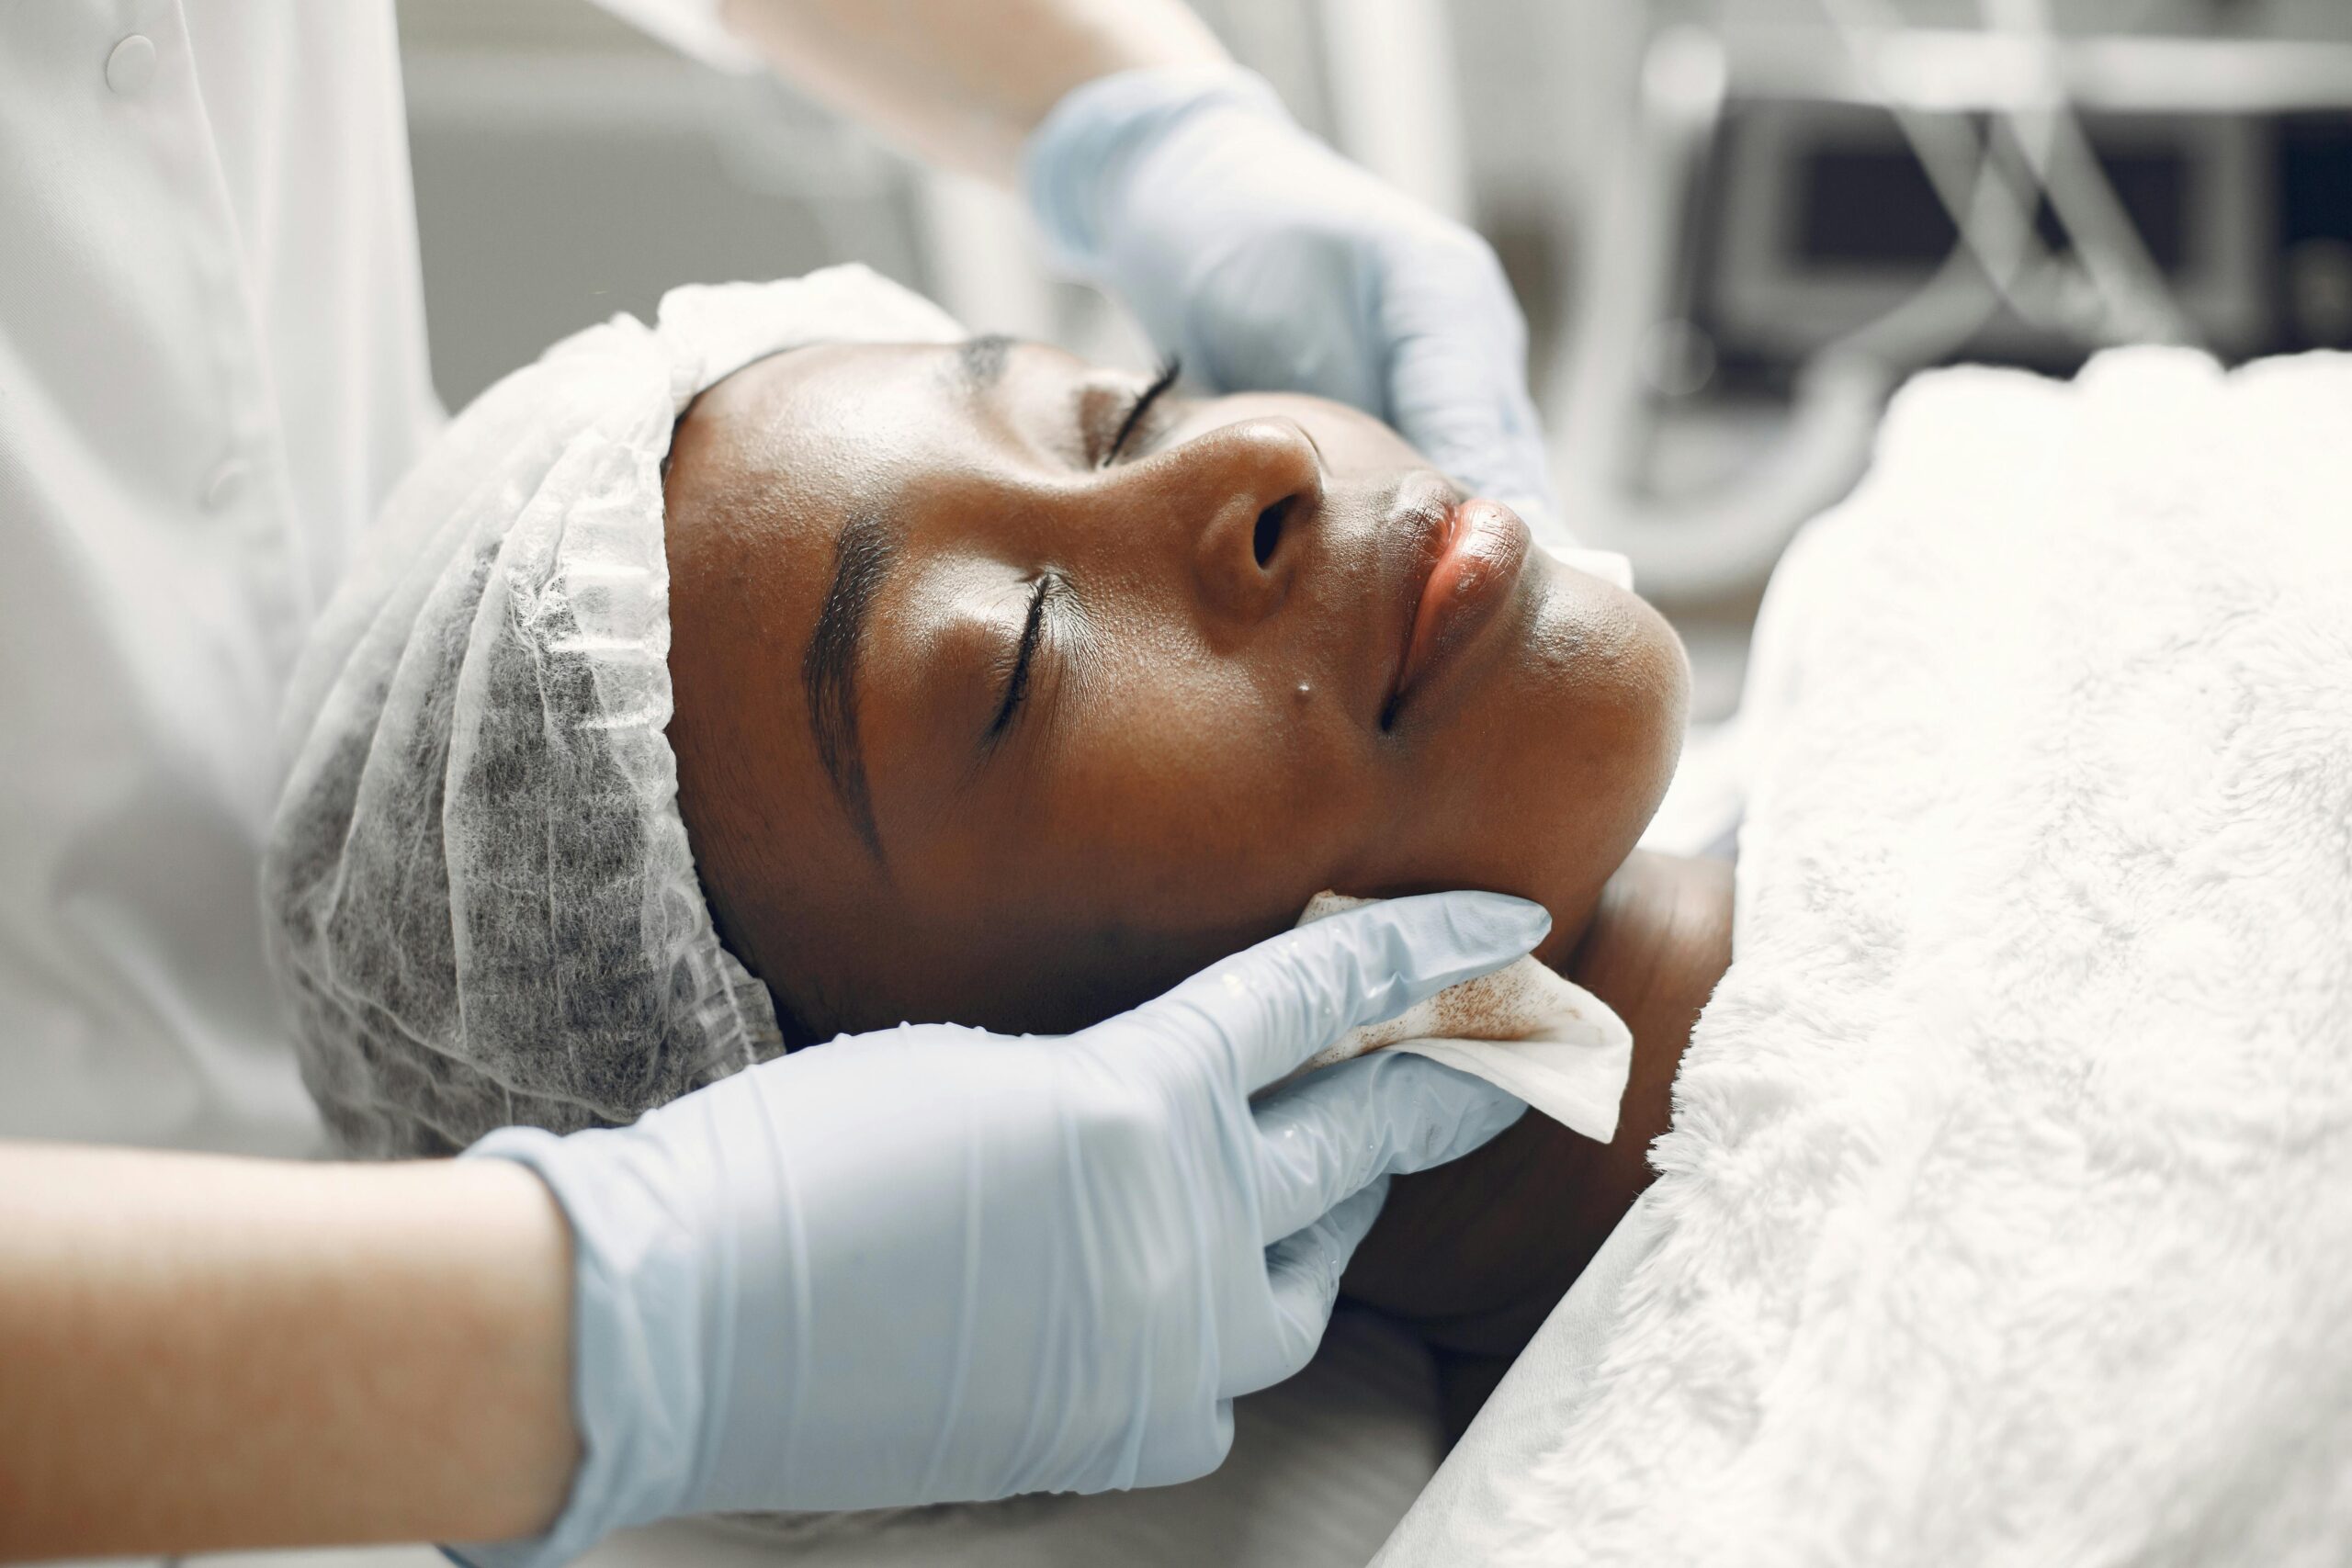
Start Your Portfolio Today
Do not wait until you’re “good enough.” Start now. It’s totally okay to say you’re still learning or new at a service—everyone starts somewhere, and honesty builds trust.
Create a dedicated album on your phone. Label it something clear like “Before & After” and make it a habit to share to that album after every service.
Most phones now let you save photos to multiple albums—use that to sort by service (e.g. brows, nails, skin) as well as into your Before & After album.

Don’t Forget the Before Shot
Let’s be real—the “before” photo is the one we all forget. You want to jump straight into the service. But a before photo is key to showing how far you’ve taken your client…a few more seconds for content gold.
Top ways to make sure you never skip it:
- Snap the before picture before setting up
- Set a reminder on your phone or station mirror
- Include a signing line in your client consultation form such as, “I consent to before & after photos being taken and used for marketing purposes.” It’s a win-win: you get both a reminder to take the photos and the permission needed to post them.
The goal is to make it second nature.
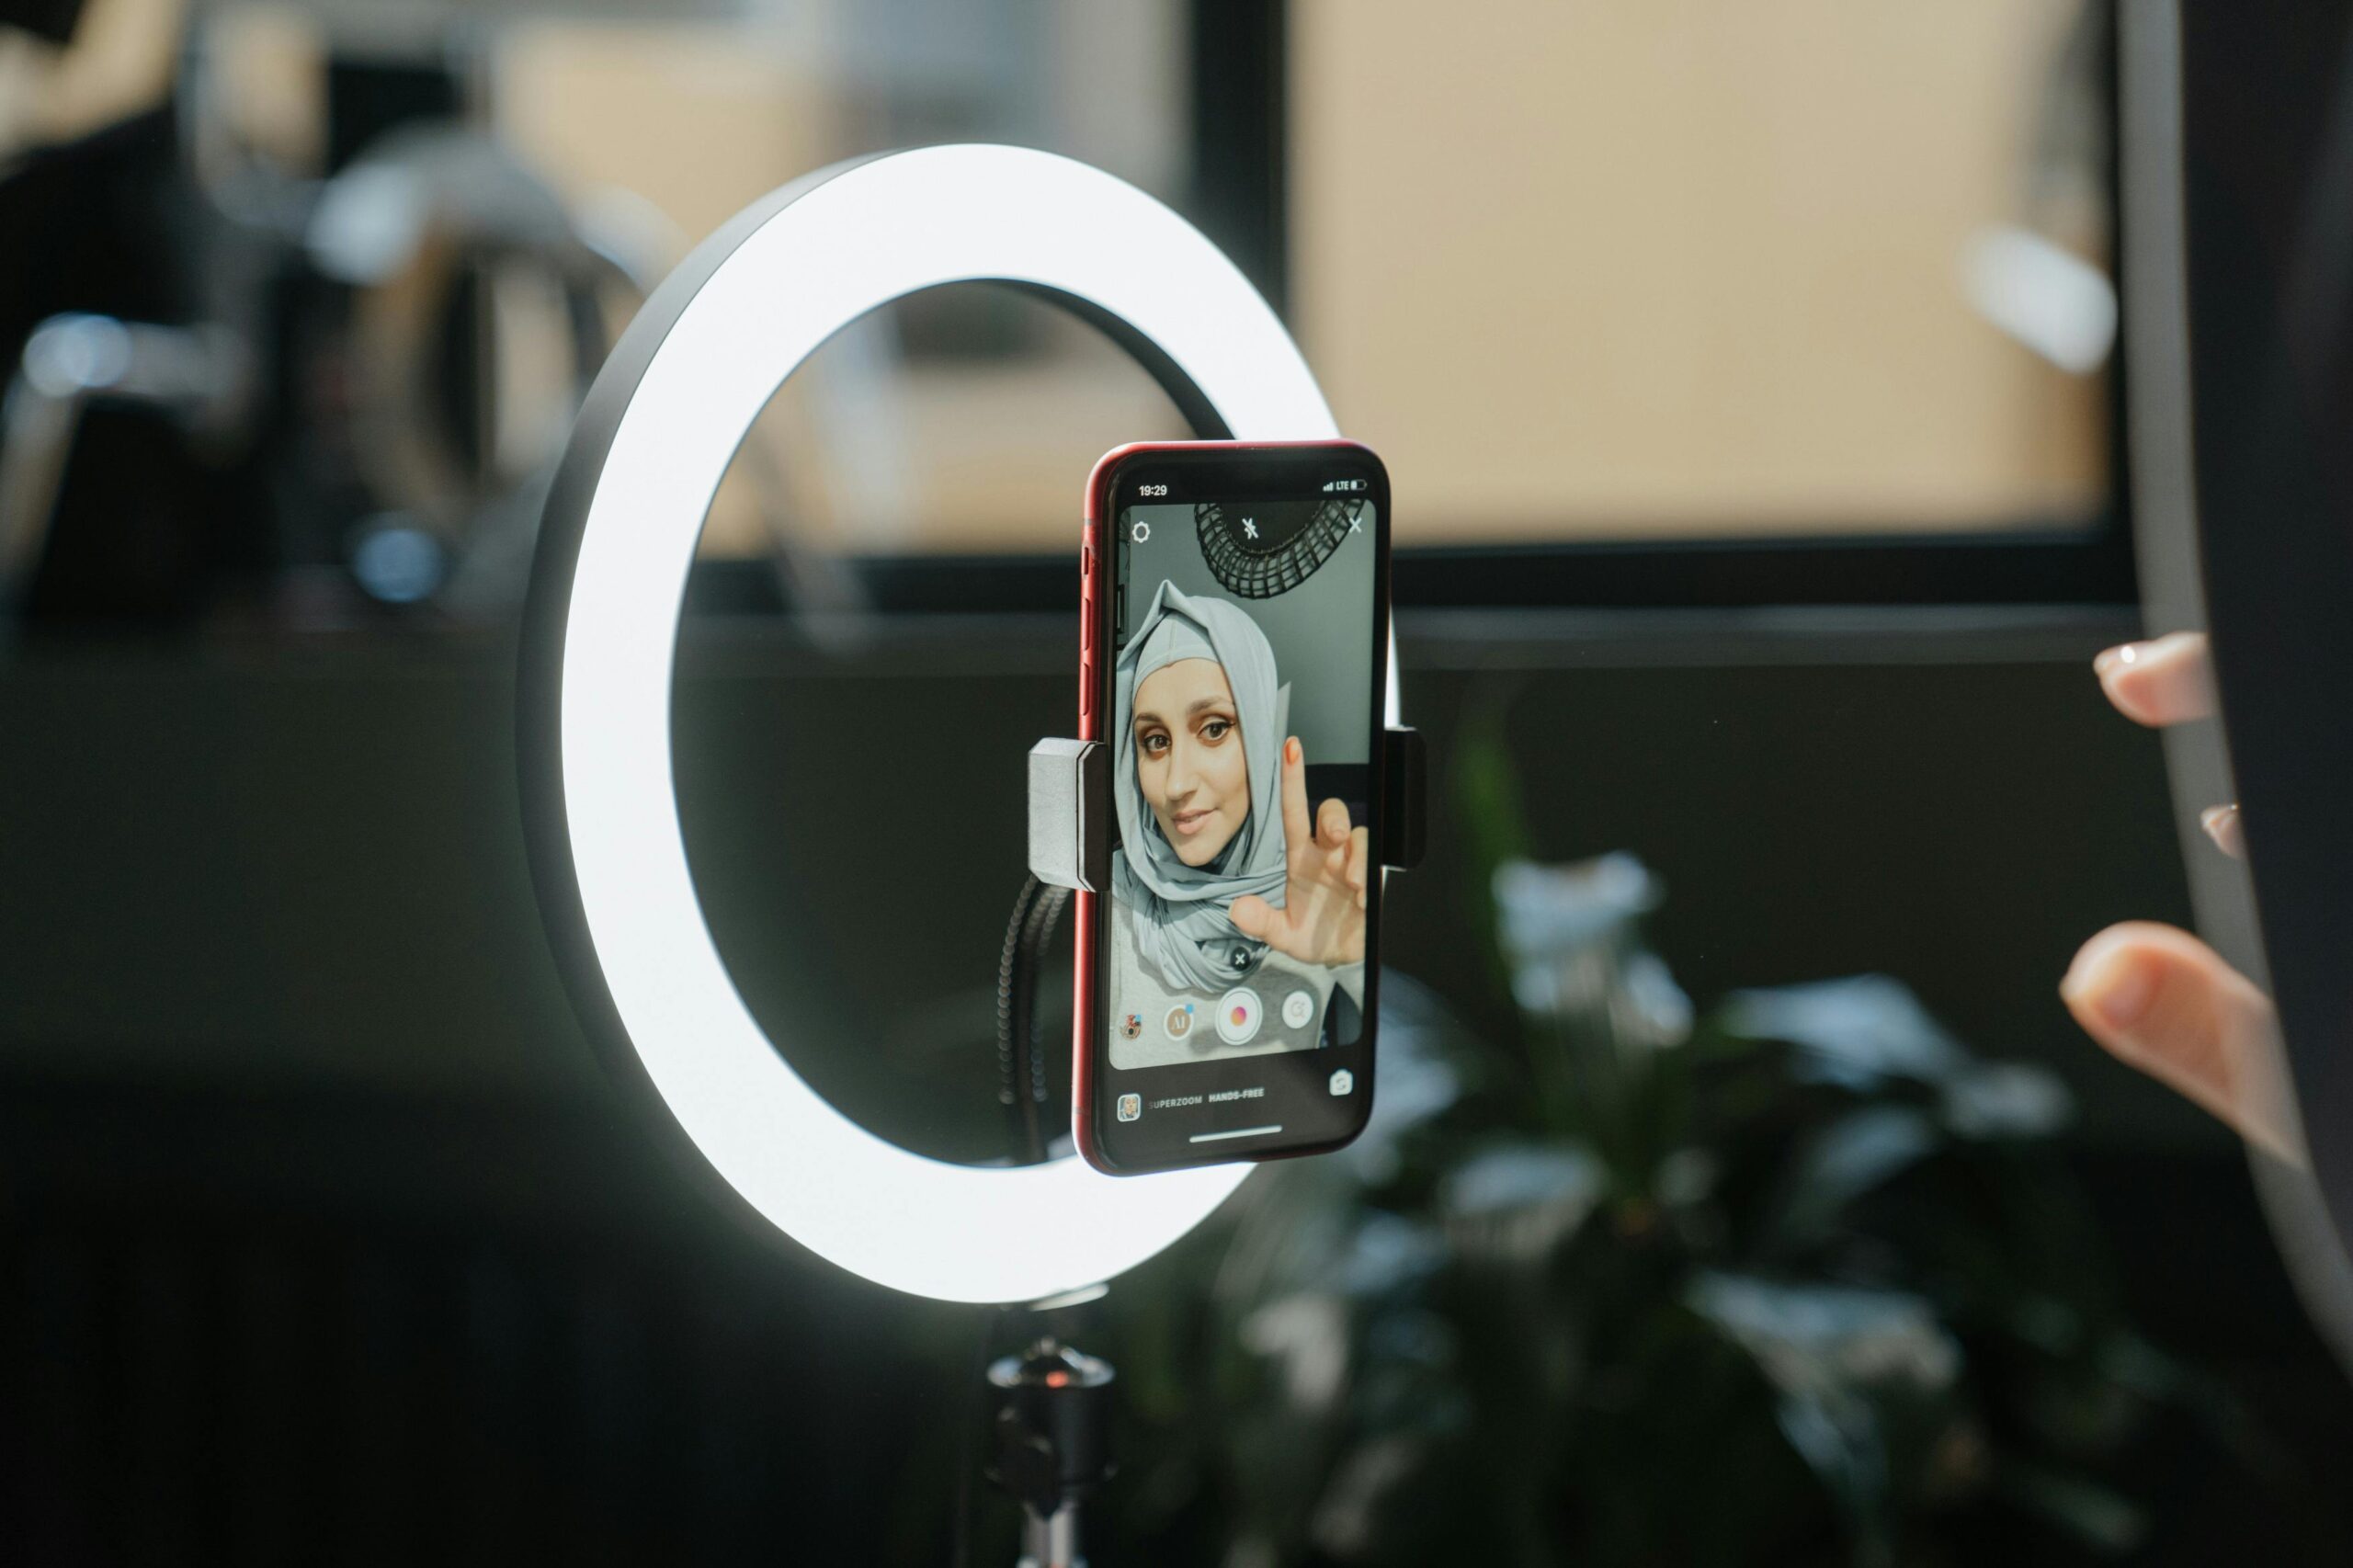
Lighting = Everything
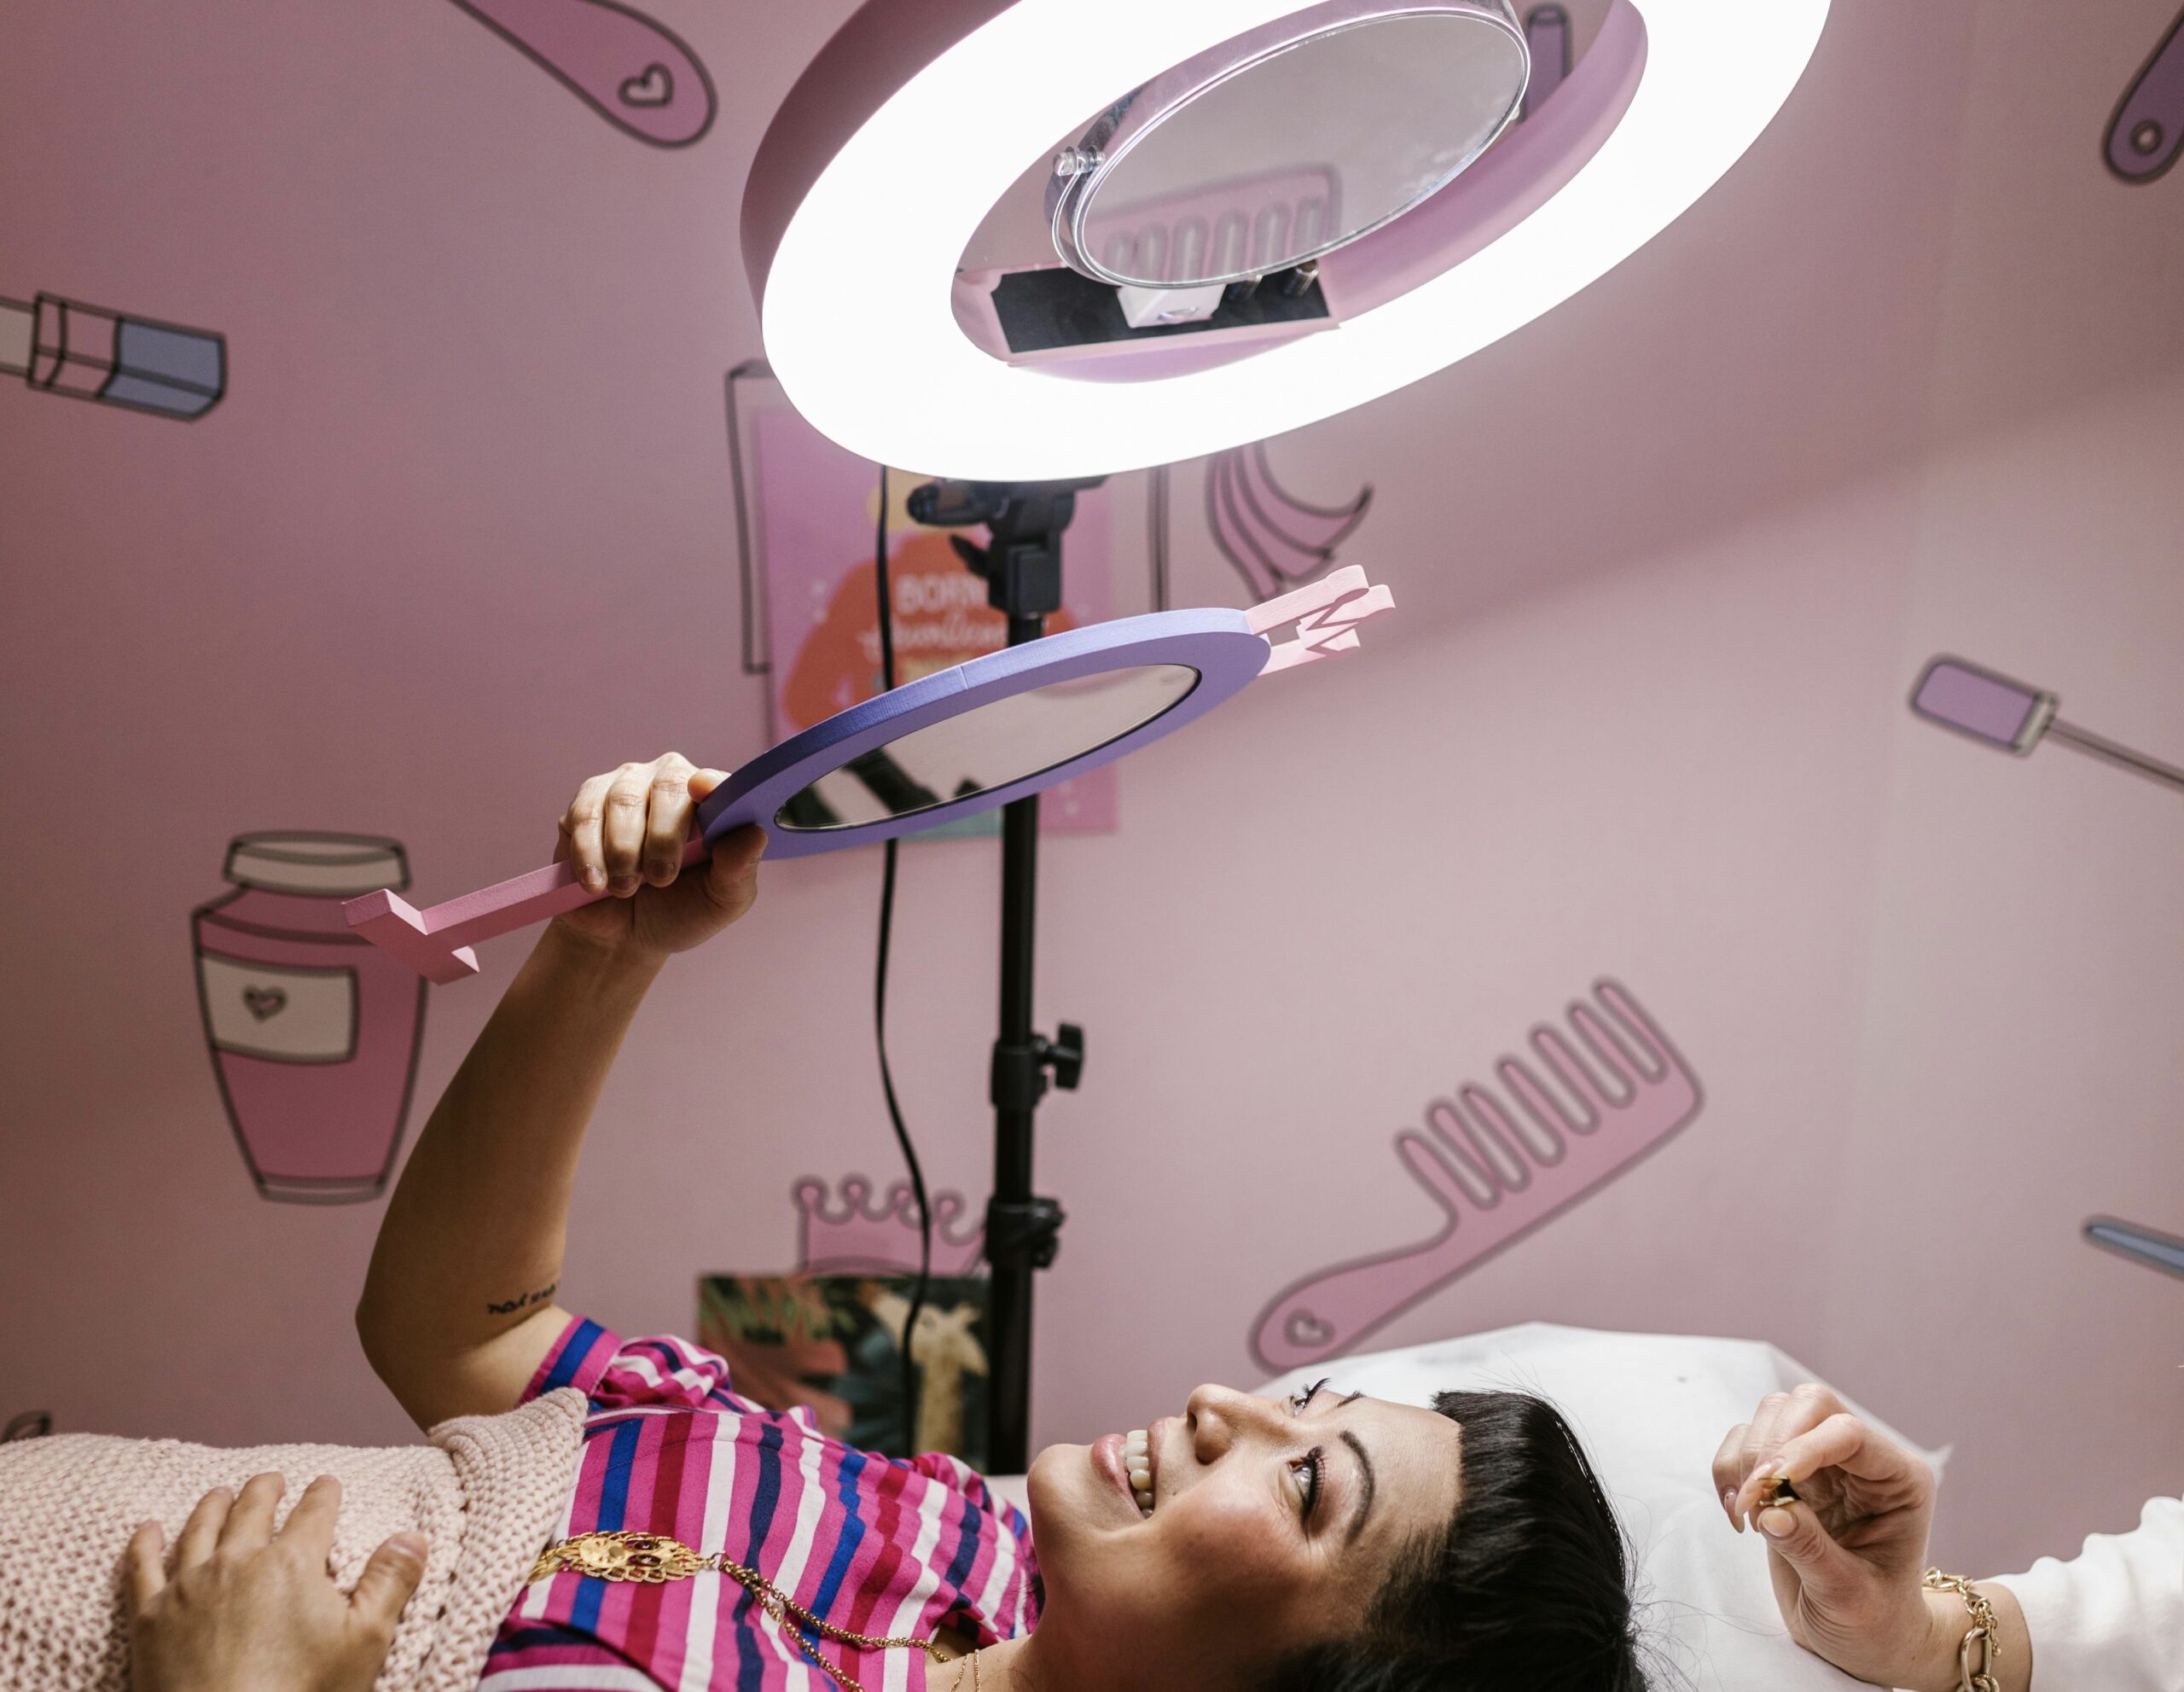
Investing in a ring light will change your content game, especially for skin (see the difference in glow!) and with nails where you want colour to pop properly. Want more content? Get one with a phone holder to film your process. Nail techs, good news: there are tabletop lights (and some with phone holders) made just for you!
Great lighting makes your Before & After photos stand out and keeps your feed looking cohesive and bright.

Post Like a Pro
When you’re ready to post, try:
- Carousel Posts: These are Instagram posts with multiple images you swipe through like slides. Perfect for Before & After shots.
- Side-by-Side Collages: Use free apps like Canva, PicCollage, or Layout to create clean, scroll-stopping comparisons.
Pro Tip: Label the before and after photos to immediately get attention. The Canva free app lets you add text to photos easily.
Tag for the Win: Get Reposted
Tagging your spa, academy, or training program = pure gold. Why? Because they often repost student (or esthetician in a spa) content. That means YOU get access to a larger audience.
This is called UGC (User-Generated Content)—and it’s algorithm fuel. When your content gets reposted, it gets more likes, more views, and more credibility—for both you and the account you tagged.
Tagging and getting reposted signals engagement—algorithms see it as valuable content and boost visibility for both your content and the tagged account.
Even better? Talk about UGC in your next job interview and the fact that you post and tag. Understanding this concept gives you major bonus points with any modern employer.
Organize Like a Marketing Pro
Label your phone B/A albums. Example: Before & After > Skin . Saving each photo to multiple, relevant folders lets you reuse content later.
For example, you can post a dermaplaning Before & After this week, then reuse the “after” photo later in a post about its benefits—because it’s saved in both your B/A folder and your dermaplaning folder, making your content work harder for you.
Post now. Reuse it in a few months. Boom—you’re a content machine.

Want More Content Ideas?
- Film the process with time-lapse mode
- Share client reactions
- Post transformation reels with trending audio
- Zoom in on the details: cuticle clean-ups, glow-ups, brow symmetry

Step Up Your Visibility
Creating Before & After photos isn’t just about clout. It’s about building confidence, showcasing skill, and getting seen.
So grab your ring light, open your camera roll, and start curating your glow-up gallery today. Your future self, employers,—and your followers—will thank you.
Get more marketing and branding tips here!

