Why Your Brand Matters (Even if You’re Still in School)
Here’s what you need to know about your personal brand: A visually consistent brand creates recognition and credibility—this gets clients thinking about you when they think of booking a service. Next, consistent service turns those first-timers into loyal regulars.
Whether you’re still in beauty school, newly graduated, or a few years into your career, it’s never too early (or too late) to start branding yourself. In fact, it’s one of the smartest moves you can make for your estie career.
Here’s why:

Be Seen, Be Booked
Clients check your Instagram (or discover you there!) before they check your credentials. A consistent, well-branded account with value-packed content helps the algorithm suggest you to them and helps clients trust you before they’ve even walked through your door.
Build a Personal Brand That Moves With You
Your personal brand is yours forever. Whether you’re renting a room, working in a spa, or launching your own biz one day, your name, esthetic, and reputation are your biggest assets. Clients don’t just book services—they book you. Building your online presence now gives you a serious head start.
Boost the Biz—And Your Reputation In It
Tag your spa or school. Share behind-the-scenes. Celebrate your clients (with their permission, of course). These actions show initiative and help both you and your spa grow. Bonus? Hiring managers love to see this kind of drive.

Canva 101: Easy Tools for a Pro Look (Yes, even for beginners)
Canva is free, beginner-friendly, and makes your feed look instantly put-together. The free version of Canva is powerful enough to create polished, on-brand content, and getting comfortable with its core features first helps you decide if the added perks of the Pro version are worth the upgrade for what you want to do.
Here are 5 ways to level up:
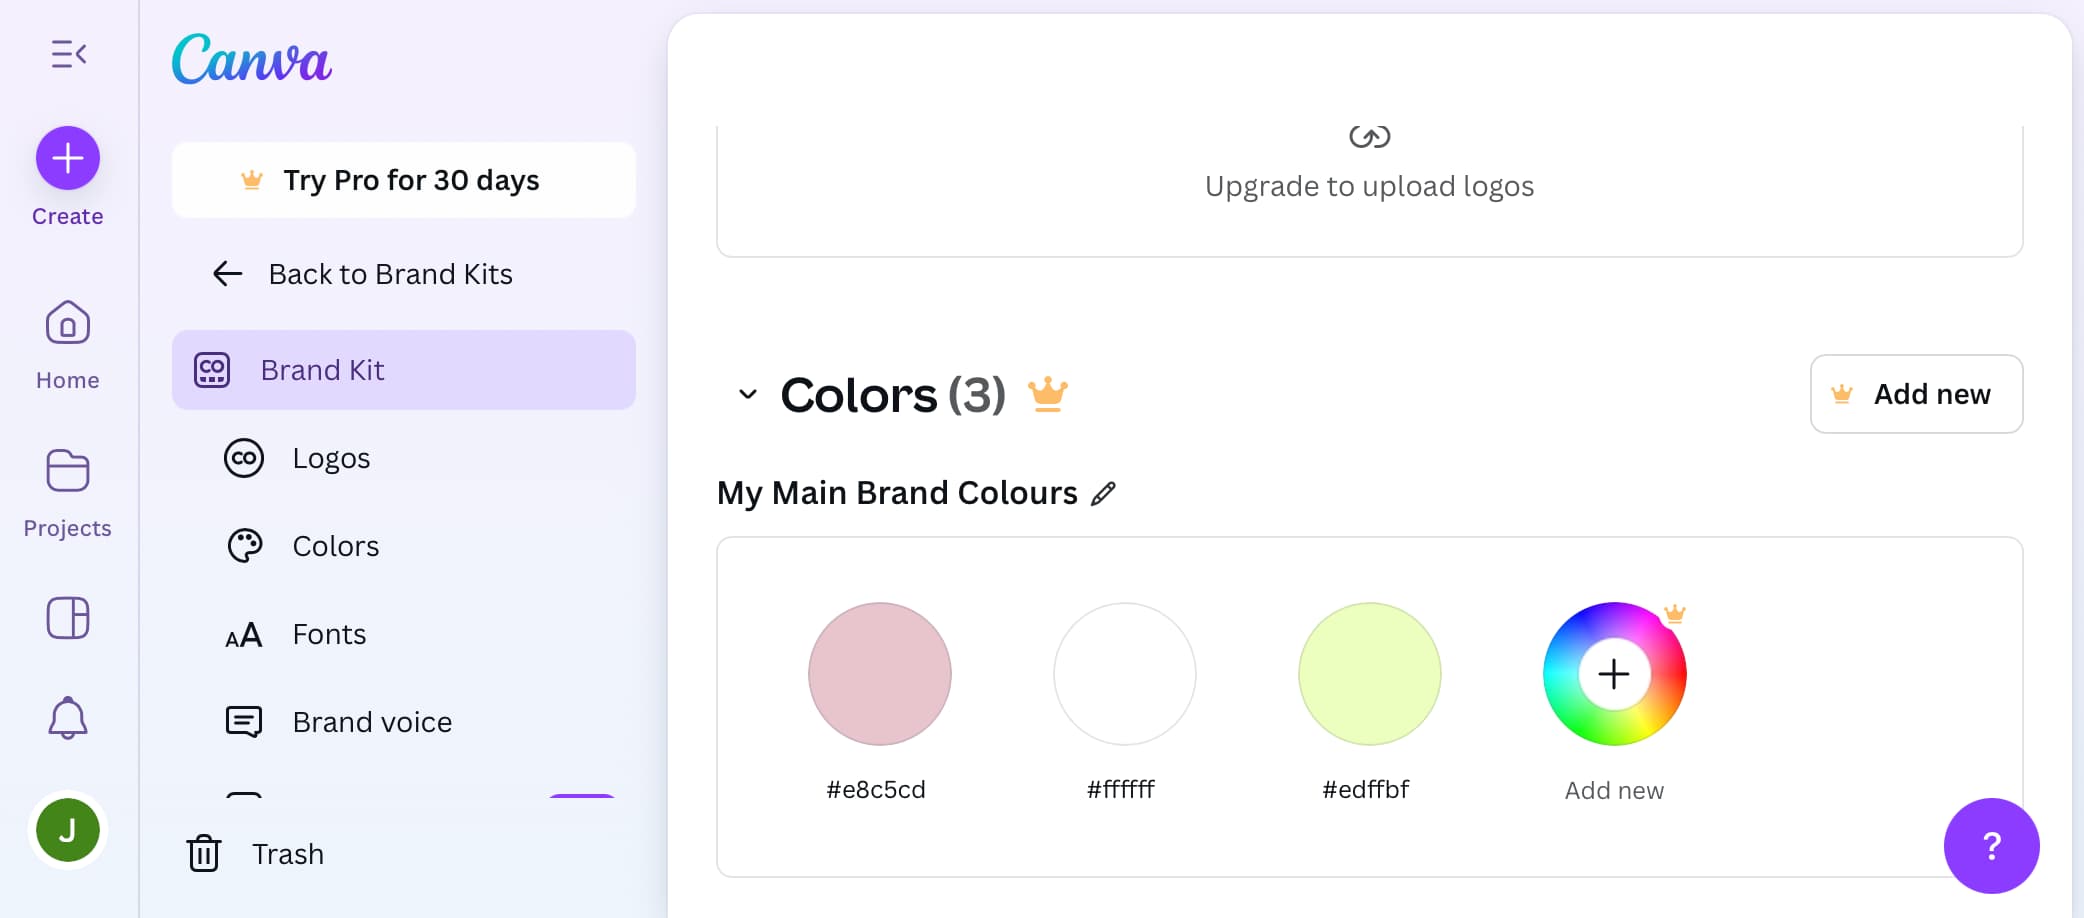
1. Save Your Brand Colours (and Know Your Hex Codes)
Go to “Brand Hub” in Canva’s side menu and create your Brand Kit (the free version allows one palette with up to 3 colours).
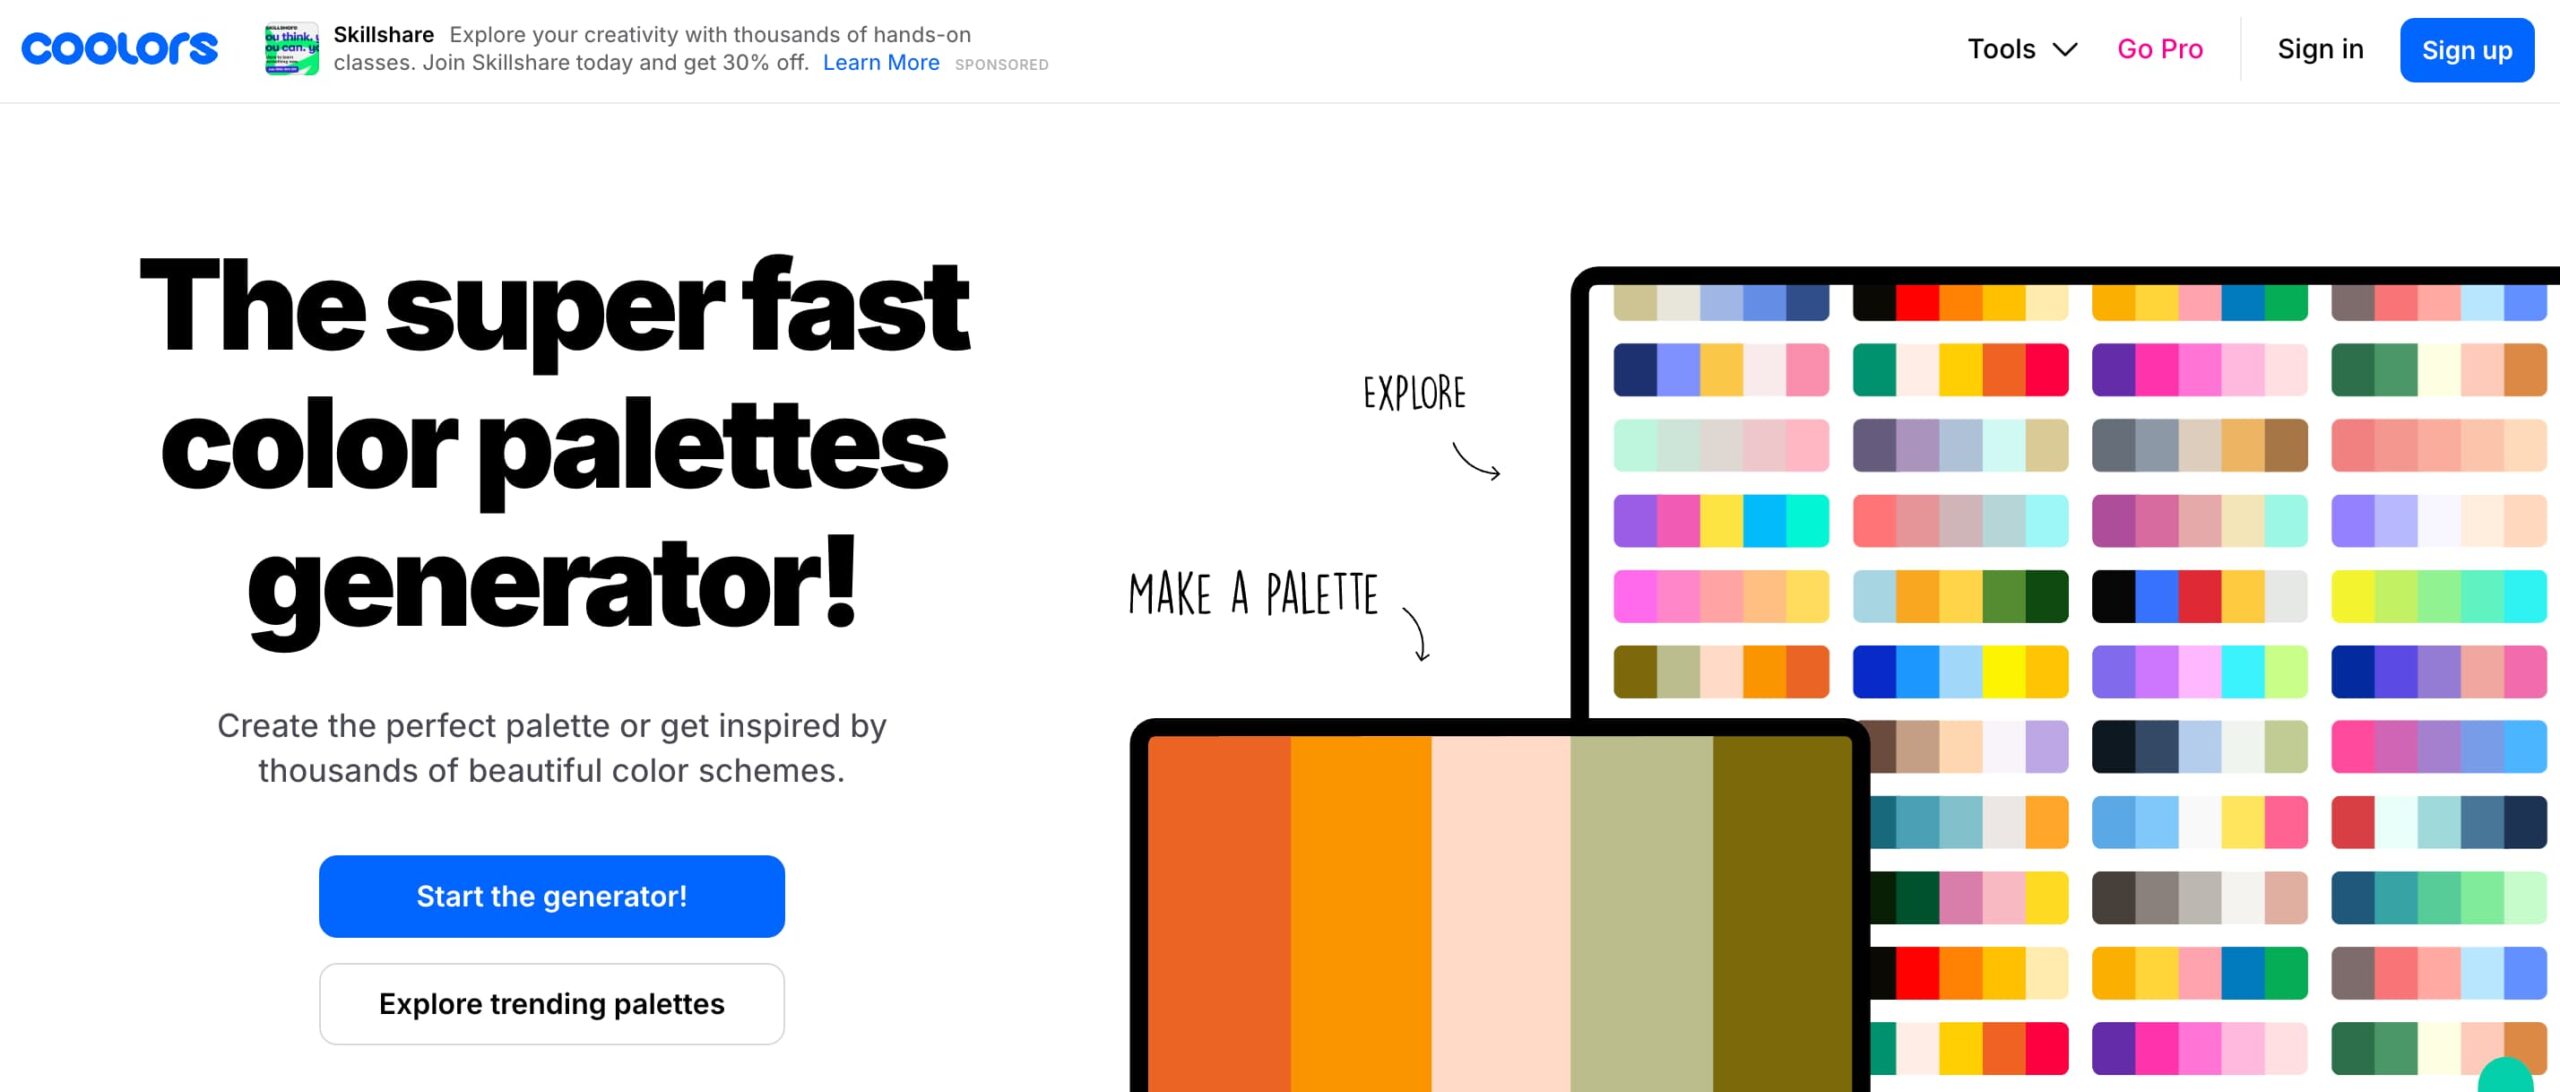
Not sure what colours to use? Try Coolors for fresh colour palette suggestions or Canva’s Colour Wheel tool . Both platforms will give you the hex codes for each colour. Once you pick a colour, click on it to view and copy its hex code (e.g., #D5A6BD for blush pink) so you can reuse it anywhere. Save your hex codes.
Why this matters: Consistent colours make your content instantly recognizable and help build a strong visual brand identity.
Not sure how to pick your brand colours?
Start with colours that reflect the vibe of your brand—soft and neutral for calming, bold and vibrant for energetic. Achromatics for minimalistic. Use platforms like Coolors to get ideas and explore what pairs well together. Aim for:
- 1 main colour (your hero)
- 1–2 secondary colours (for accents)
- 1 neutral (for balance and background)
Best practice: Choose shades you won’t get tired of—your brand colours should be something you’re happy to see everywhere as you grow. Don’t forget at least one neutral.
What ends up in your photos and videos? Think social posts, your personal style, manicure choices, props in your setup, water bottle, phone cover, hair accessories, towels, backdrops, and possibly even your tools.
In the future, this may extend to your packaging, website, and maybe even uniforms.
These colours will show up in your content and workspace, so pick ones that feel like you. Start leaning into your brand with small, consistent choices—and test them out on mockups in Canva!
2. Use Templates (But Make Them Yours)
Pick 3–5 templates for your regular content:
- Testimonials
- Infographics
- Tips and Aftercare Templates
Update the colours and fonts to match your brand kit. This makes batching posts faster and keeps your esthetic consistent.
Not sure how to pick your brand fonts?
Start with fonts that match your brand’s vibe and personality.
- Want to feel high-end and minimal? Try a clean serif or modern sans-serif.
- Want something playful and creative? Consider a quirky script or rounded font (just sparingly!).
📚 Best practice:
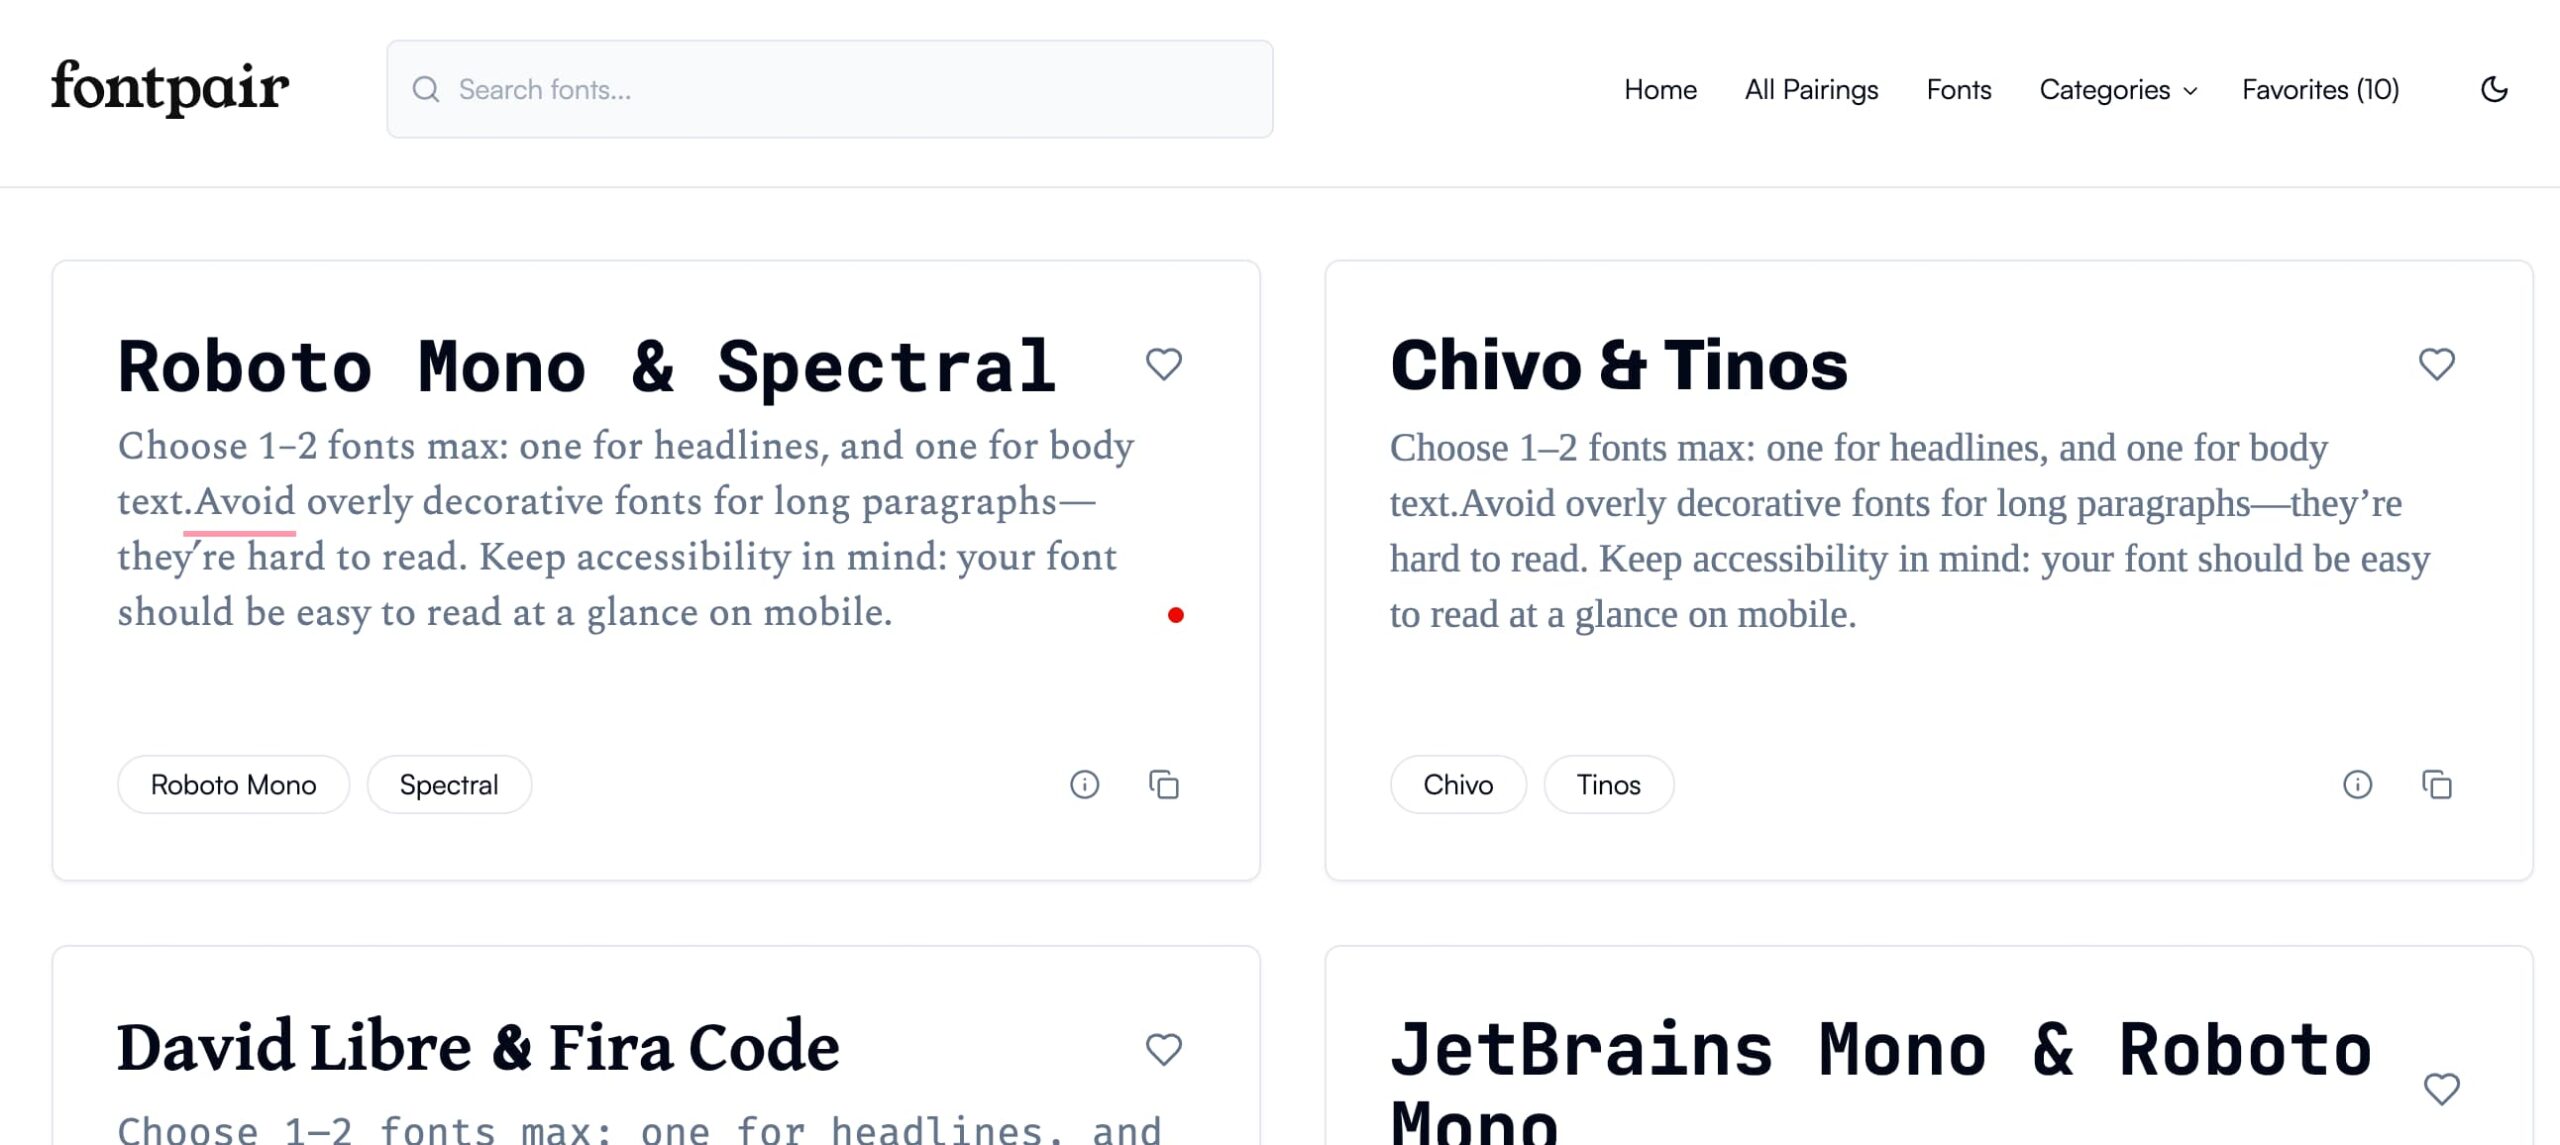
- Choose 1–2 fonts max: one for headlines, and one for body text.
- Avoid overly decorative fonts for long paragraphs—they’re hard to read.
- Keep accessibility in mind: your font should be easy to read at a glance on mobile.
- Use Canva’s font pairing suggestions or explore sites like fontpair.co to find balanced combinations.
And just like with colours, pick fonts you’ll be happy seeing everywhere—in your posts, future website mockups, story slides, and any future printed materials. Test them in a few templates before you commit!
3. Create Your Own Instagram Highlight Covers
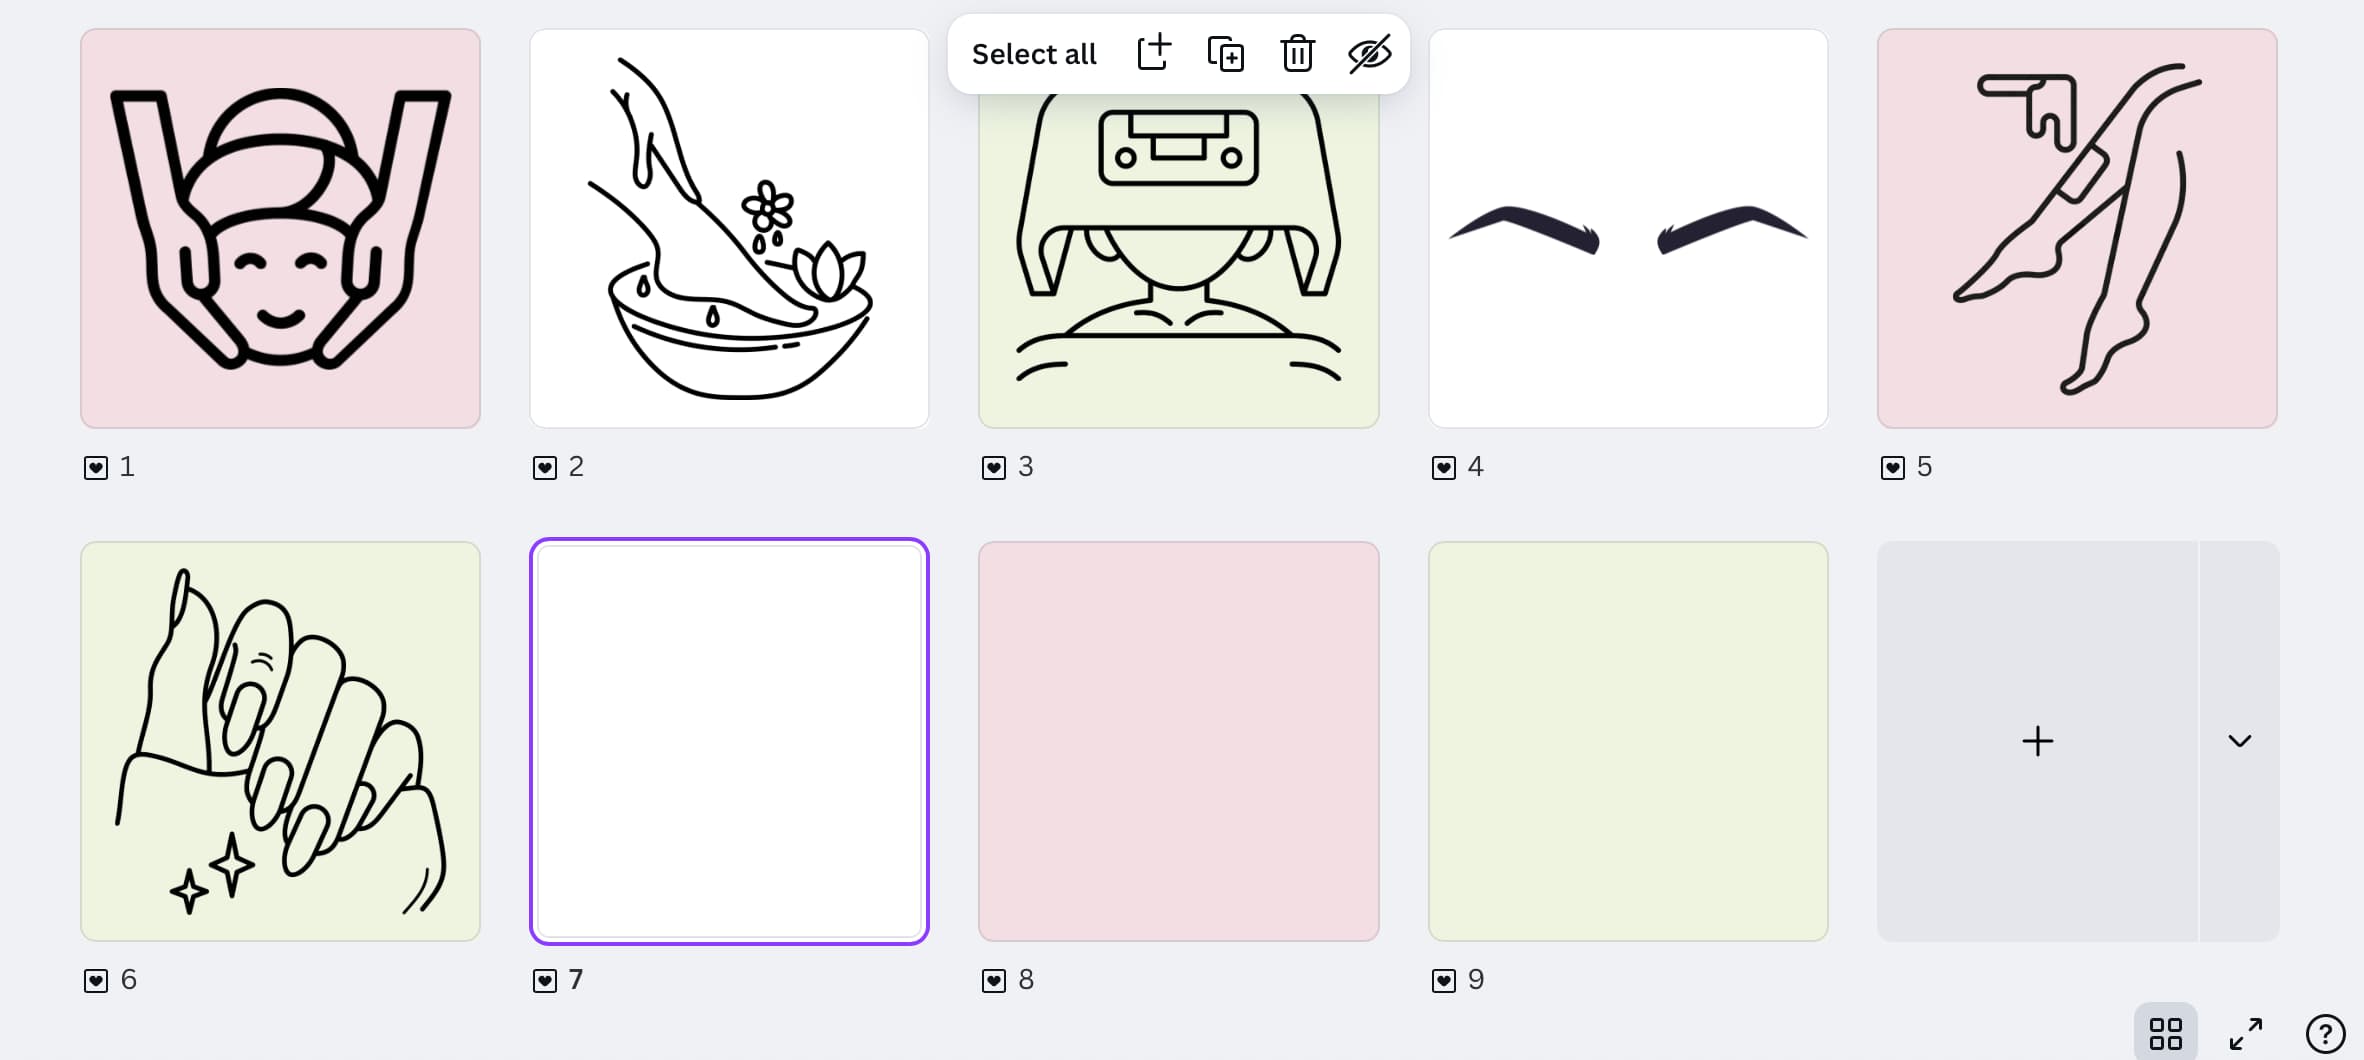
Keep your profile clean and clear. Design highlight icons that match your vibe.
Canva steps:
- Choose a square format (1080 x 1080 px)
- Add a simple icon (Canva has tons!)
- Use your brand colours as background
Icon ideas: wax pot, brows, lashes, lips, nails, product bottle, calendar, phone, aftercare
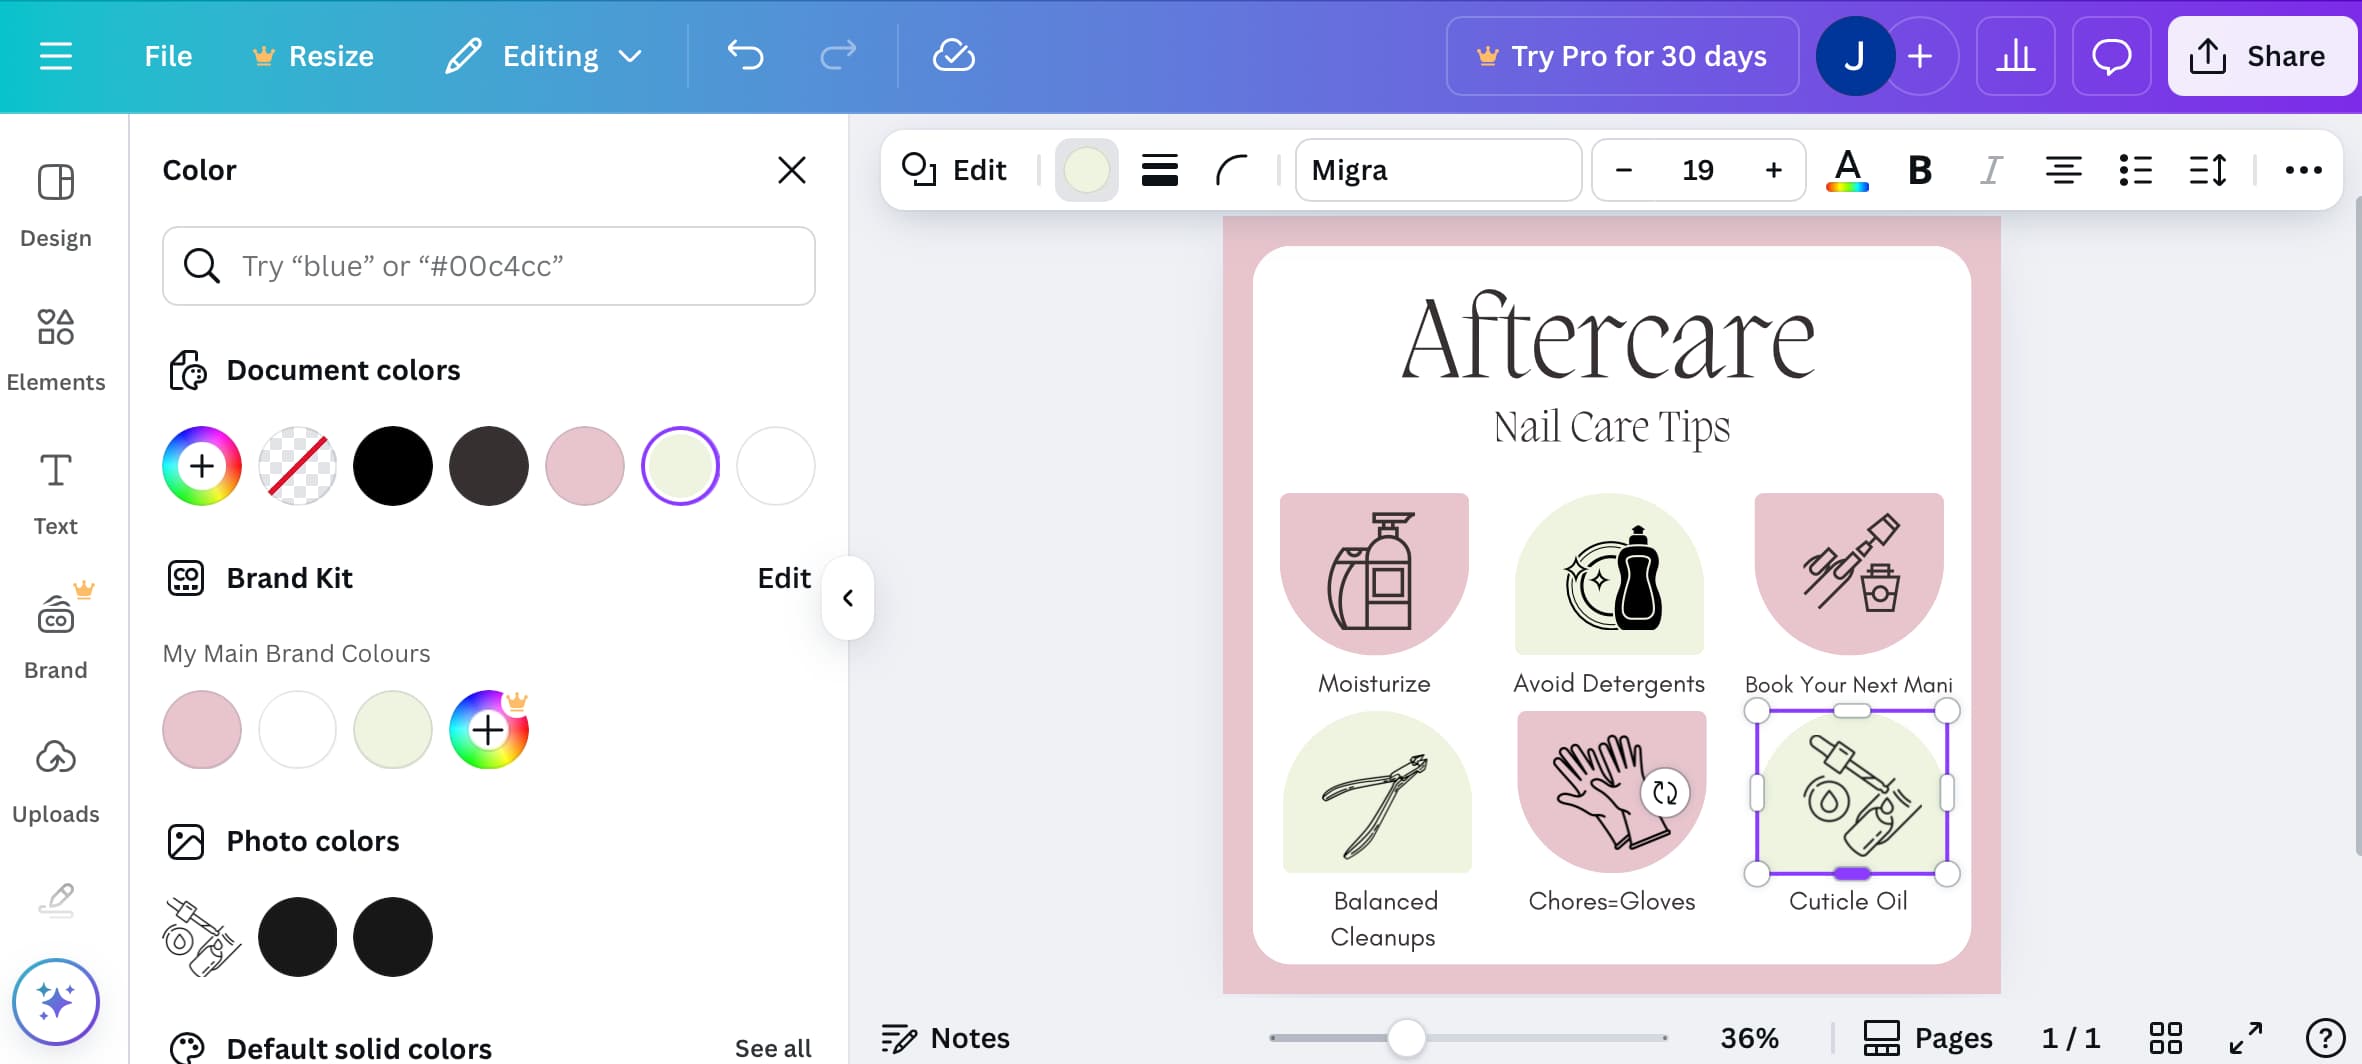
4. Design Branded Appointment Cards & Aftercare Sheets
Whether printed or shared digitally, custom cards make you look pro.
💡 Ideas:
- Include space for date/time
- Add your logo and social handle
- QR code linking to your booking page or post-care instructions
These little touches = big impact on your credibility.
5. Batch Your Content in Folders
📁 Keep your Canva organized with folders like:
- Aftercare Tips
- Testimonials
- Reels Covers
- Before/After Graphics
Set aside time in your personal schedule to plan and batch content monthly—so you’re not scrambling the night before an early start.

Branding isn’t just for influencers—it’s for every estie who wants to stand out. And standing out doesn’t mean posting every day or being “perfect.” It means being intentional, consistent, and you.
Canva makes that possible, no matter where you’re starting from. So whether you’re learning how to hold a wax strip or you’ve just done your 100th manicure, it’s always the right time to build your brand.


